Charmshots editorial ·
You do not need a photographer to get usable dating photos. A phone, good light and a little planning will do most of the work. The difference between a quick snap and a photo worth leading with usually comes down to a few physical things: where the camera sits, how far away it is, and whether you look settled or rushed.
This guide covers shooting alone with a timer, working with a friend, and the poses that cause the most trouble: hands, sitting and walking. Sort out your light first with the lighting guide; everything below assumes your face is clearly lit.
Shooting alone with a timer
A timer removes the stretched-arm selfie look and lets you include your shoulders, posture and some surroundings. The trick is to set the frame before you step into it.
- Find a secure support where the phone cannot fall or block anyone: a shelf, a stack of books, a wall ledge or a small tripod.
- Use the rear camera if you can. It is usually sharper than the front one. Take a test photo of the empty spot first.
- Mark where you will stand with an object just outside the frame, such as a shoe or a bag.
- Set a ten-second timer, or burst mode if your phone supports it, so you get several frames per countdown.
- Step in, relax your hands and breathe out. Leave extra room around your head and shoulders for cropping.
- Review a few frames, adjust one thing, and repeat.
Do not hold a smile through the whole countdown. Look away briefly, then return to the camera as it fires. Discard frames where you are visibly hurrying back to your mark. Many phones can also take the photo from a smartwatch or a voice command, which saves running back and forth.
How far away to hold the camera
Phone lenses are wide. When the camera is very close to your face, the nearest features look bigger: the nose and forehead grow and the ears shrink. That is why arm’s-length selfies can look slightly unlike you in person.
Try a simple test. Take one frame close up, then another from a few steps back using the 2x lens if your phone has one, and crop both to the same chest-up framing. Compare the nose, forehead and the edges of your face. Most people find the farther version more recognisable.
- Use good light and a clean lens for both test frames so you are only comparing distance.
- Do not go so far that the final crop becomes tiny and soft. You want a clear face as well as natural proportions.
- There is no universal correct distance; it depends on your phone and framing, so trust your test frames.
Camera height and angle
Start with the lens at roughly eye level, as if someone your height were talking to you. Take that neutral frame first, then try a little higher and a little lower and compare all three. Strong angles look stylised and change how familiar your proportions appear.
A phone on a low table points up your nose and fills the background with ceiling. A phone held high above your head can make you look like you are hiding something. Raising a low support by a few books often improves both your face and the room behind you.
Choose the angle that looks like you in an ordinary conversation. An angle that disguises your current appearance just creates a mismatch when you meet.
What to do with your hands
Hands get awkward when they have nothing to do. Give them a small, believable job rather than copying an elaborate pose.
- Rest them. One hand on a chair back, a table edge or your knee.
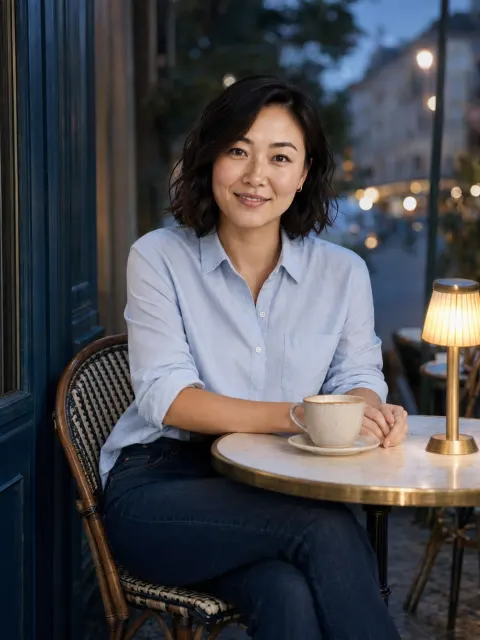
- Hold something you would actually hold. A coffee cup in a café, a dog lead in a park, a book on a bench.
- Pockets, loosely. Thumbs or one hand in a pocket, not both fists jammed in, which lifts the shoulders.
- Shake them out between frames and let your fingers relax.
Avoid gripping objects tightly or bringing your hands to your face unless that gesture is natural to you. When cropping, do not cut exactly through a wrist. For a close headshot, leaving the hands out of frame is often the simplest answer. Judge the whole posture, not just the fingers: relaxed shoulders matter more than perfect hands.
Seated portraits
A seated photo can feel relaxed and conversational, as long as the posture is supported rather than slumped or stiff.
- Pick a firm chair or bench. A low, soft sofa pulls you into a slouch that looks worse on camera than it feels.
- Sit towards the front of the seat, back straight but not rigid, and let your shoulders drop.
- Turn your body slightly away from the camera and your face back towards it. Compare with a straight-on frame.
- Keep the camera at seated eye height, not looking down from standing height or up from the tabletop.
- Frame so you are not cutting through knees or hands by accident.
A café, park bench or familiar room works if the background is simple. Make sure the seated frame adds something different, not just a lower version of your main headshot.
Walking shots without blur
A walking photo shows ease and movement, but it is easy to end up with a soft face and a swinging arm. You will need a friend for this one, or a timer in burst mode on a quiet path.
- Choose a safe, uncluttered stretch where neither of you needs to watch traffic or dodge people.
- Use bright light so the camera can use a fast shutter. Dim evening light almost always blurs.
- Walk slowly and naturally. Glance towards the photographer for a moment rather than staring.
- If the camera struggles, pause mid-step briefly. It still reads as walking.
Discard frames dominated by a blink, an awkward stride or a blurred hand. Keep enough surroundings to explain the movement, but not so much that you are a tiny figure in the distance. A walking frame is a supporting photo, never a replacement for a clear face.
A short shot list
Going out with a plan keeps the session short and stops you taking fifty versions of one pose. Write down what each picture should show before you start.
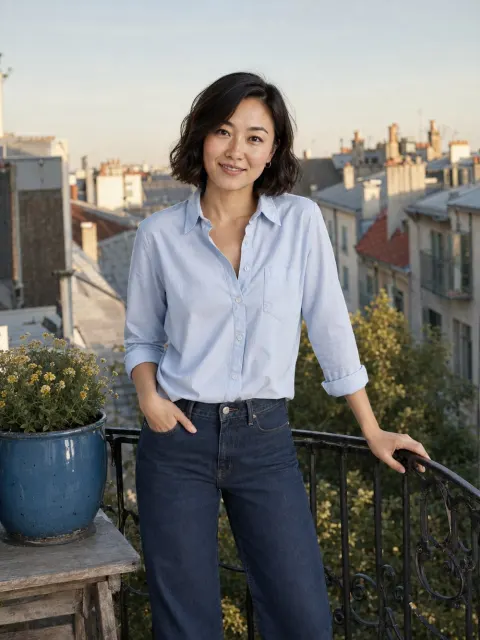
- Face-led portrait. Chest up, relaxed expression, eyes clear. This is your candidate for the first photo.
- Wider standing or seated frame. Shows your build and posture honestly.
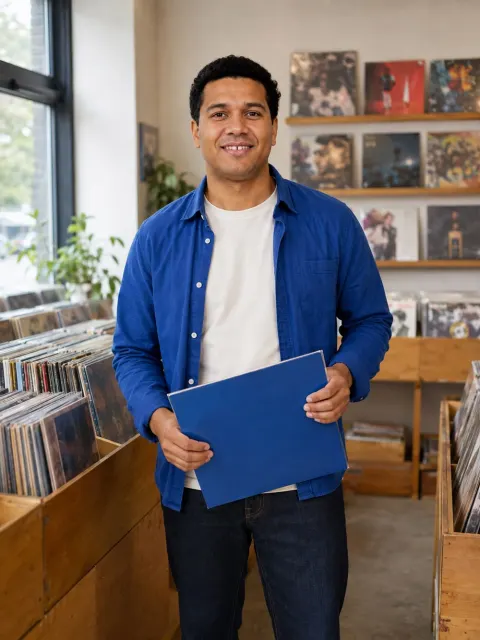
- Activity or setting. Something you actually do: making coffee, walking the dog, at the climbing wall.
- Quick review. Check sharpness and that each frame has room to crop.
If the first portrait already works, move on. Time is better spent on a genuinely different supporting image. For more ideas on what those can be, see dating profile photo examples. Finishing the list does not mean every frame belongs on your profile; you will choose later.
Briefing a friend
Friends want to help but often do not know what you need. “A relaxed portrait with room to crop” is much easier to act on than “make me look good”.
- Ask for even light on your face, the camera near your eye height and a little space around your head.
- Show one example of the framing you want, not a face to imitate.
- Take a test shot and review it together, then change one thing at a time.
- If the background is distracting, ask to move a step rather than giving a list of camera settings.
- Agree on a time limit and stick to it. Twenty minutes is plenty.
Do not make your friend responsible for how your profile performs. Their job is to help you get honest, usable photos. Keep the originals and make your final choice yourself after a short break.
If you dislike being photographed
You do not have to become an enthusiastic model. You need a handful of clear photos that feel like you, and a short, predictable session makes that much easier.
- Work with someone you trust in a familiar place, and agree on just a few frames.
- Go for a short walk or grab a coffee first so the session does not start cold.
- Talk between frames. Conversation produces more natural expressions than countdowns.
- Give yourself permission to pause or stop.
- Do not review every frame on the spot if it makes you tense. Look at a shortlist later.
Holding something familiar can help, as long as it stays natural rather than becoming a prop you grip nervously. An awkward frame is not a failed session. A few comfortable pictures are enough to improve your options.
After the session
Pick your favourites at phone size, not zoomed in on a laptop. Keep the uncropped originals, then make small, honest adjustments in the free photo editor or the crop and resize tool. Editing dating photos covers how far to go.
When you have a few good frames, decide their order with the lineup guide.
How do I take good dating photos by myself?
Prop your phone at eye height on something stable, use the rear camera and a ten-second timer or burst mode, and mark your standing spot. Face soft light, leave space around your head and make small changes between frames. Review a few at a time and adjust.
How far should the phone be from my face?
Farther than arm’s length usually looks more natural, because close wide-angle lenses enlarge the nose and forehead. Try a frame from a few steps back with the 2x lens and compare it with a close one cropped to the same size. Keep whichever looks most like you.
What should I do with my hands in photos?
Give them a small, real job: resting on a chair, holding a cup you would actually drink from, or loosely in a pocket. Shake them out between frames. For a close portrait, leaving them out of the frame entirely is often easiest.
What should I tell a friend taking my photos?
Ask for even light on your face, the camera at about your eye level and some room around your head for cropping. Show one framing example, review a test shot together and change one thing at a time. Keep the session short.
I hate having my photo taken. How can I make it easier?
Keep it short and low-pressure with someone you trust. Start with a walk or a chat, talk between frames, and agree on only a few shots. Look at a shortlist afterwards rather than every frame. A few comfortable photos are enough.