Charmshots editorial ·
The first photo on a dating profile has a modest job: make it easy to recognise you and invite a closer look. It is often seen as a small card or circle before anyone taps through, so it needs to work at a size far smaller than you see it in your camera roll.
It does not need to be the most striking picture you own. A clear, recent phone photo often beats a dramatic one. This guide gives you three quick checks to narrow the choice, then covers the framing details that decide whether an app crop treats your photo well.
What a first photo needs to do
- Show you alone. No guessing which person in the group is you.
- Show your face clearly. Eyes visible, no sunglasses or heavy hat shadow, reasonable light.
- Look like you now. Current hair, face and style.
- Read at small size. Your face should be the first thing you notice, not a sign or a sunset.
Everything else, such as hobbies, travel, friends and full-length shots, belongs further down. The lineup guide explains how those supporting photos fit together.
Start with a shortlist of three
Comparing your entire camera roll is exhausting and leads to second-guessing. Instead, pick two or three recent solo portraits that already meet the basics above, and compare only those. If you have none, take some first with taking your own dating photos, paying attention to light.
A professional portrait is not required. A good phone photo in soft light works well. Recognisability and light matter more than the price of the camera.
Check 1: make it smaller
View each candidate at roughly the size it will appear in the app. Zoom your camera roll out to the grid view, or hold the phone at arm’s length. Then ask:
- Can I see my face without zooming in?
- Are both eyes visible and reasonably sharp?
- Does something else grab attention first: a bright sign, another person, a pet in the corner, a busy background?
- Is my expression readable, or does it turn into a blur?
A photo that looks wonderful full screen can turn confusing as a small card. Wide landscapes with you as a tiny figure are the most common casualty. If you have to hunt for your face in the grid, it is too small.
Check 2: does it look like you now?
Imagine arriving for coffee with someone who has only seen this photo. Would your current hair, beard, glasses and general look be a straightforward match? Old favourites from a few years ago are not automatically good introductions, however good you felt that day.
Choose an expression you recognise from normal conversation, even if another frame feels more dramatic. A good opening photo reduces how much you need to explain later. If your look has changed recently, the lineup guide covers what to update.
If you are considering an AI portrait
Compare it side by side with a recent unedited selfie. Look closely at eye shape, jawline, teeth, hairline and skin texture. If any of those feel unfamiliar, choose a different result rather than keeping it because it is flattering. Many people prefer a real recent photo as the opener and use AI scenes further down; are AI photos allowed on dating apps? and the likeness checklist go into detail.
Simplify a busy background
At thumbnail size, bright colours, readable text and objects that seem to grow out of your head compete hard with your face. Glance at the small version and notice the first thing you see besides you.
Fix it in the scene when you can
- Move a step sideways so the lamp, bin or signpost is no longer directly behind your head.
- Step further away from the background so it sits back.
- Try a slightly tighter crop that removes the distraction at the edge.
- Recheck the edges for reflective surfaces and stray bright objects.
Moving yourself takes seconds; removing an object later can leave an unnatural patch. Do not blur everything into an anonymous wash, though. A café counter or a trail behind you is useful context. The goal is a clear order: you first, setting second.
Check 3: leave room for the crop
Apps crop the same photo differently in different places: a tall card in the main view, a square or circle in chats and matches. If your head touches the top edge in the original, every automatic crop will feel cramped.
- Shoot or keep a version wider than the final crop, with space above your hair and beside your shoulders.
- Keep your face away from the outer edges of the image.
- Do not go too far the other way: a big band of empty sky makes your face tiny in a small card.
- Test a square crop and a taller crop from the same original and check both at thumbnail size.
A photo with you at the far edge of a landscape frame can be lovely as a banner and poor as an avatar. That is a fit problem, not a quality problem, so try a different crop before abandoning the picture. Never stretch or squash a photo to fill a shape.
Preparing for a circular crop
Some places show your photo as a circle. The corners of a square disappear, so anything important there is lost.
- Place your face near the centre with a little space around your hair and chin.
- Check that the top of your head and your chin are not clipped by the curve.
- Move details you care about, such as a dog beside you, closer to the centre, or accept they will be cut.
- Preview the actual circle in the app, or lay a circular guide over the image, before saving.
Keep a wider master file and make a separate avatar export. Do not permanently cut your only copy into a circle; you may need a rectangle later. Avoid relying on text or small details in an avatar, since they rarely survive.
Where to crop so it looks intentional
Cutting through a joint by accident makes a frame feel awkward even when the expression is good. Check the top of the head, elbows, wrists, knees and feet.
- Good crop points: mid-chest, mid-upper-arm, waist, mid-thigh or below the feet.
- Awkward crop points: exactly at the wrist, elbow, knee or ankle, or right across the chin.
- A hand cut at the wrist looks accidental. Include the whole hand or crop clearly above it.
- Make a deliberate chest-up or waist-up version and compare it with the untouched wide frame.
Slightly cutting the top of the hair in a tight headshot can look fine; cutting the chin rarely does.
Test it in the app, then stop
Upload your choice and inspect the actual preview before saving. Look at it as a card, as a thumbnail in the match list and in chat if you can. Each app has its own layout and photo rules, so check the app’s current requirements; the Hinge, Tinder and Bumble pages cover what each app's first photo has to do.
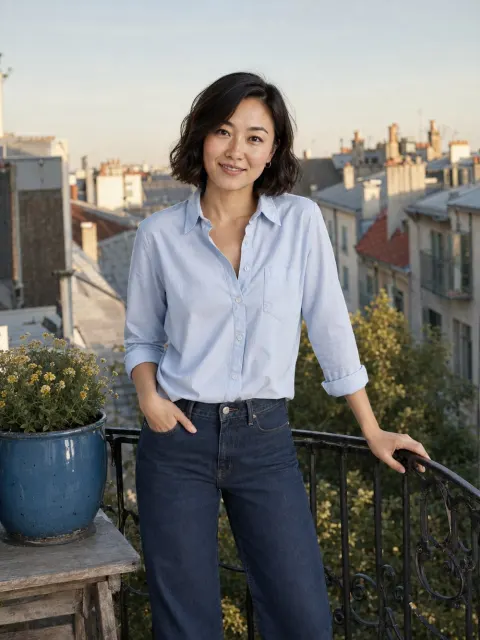
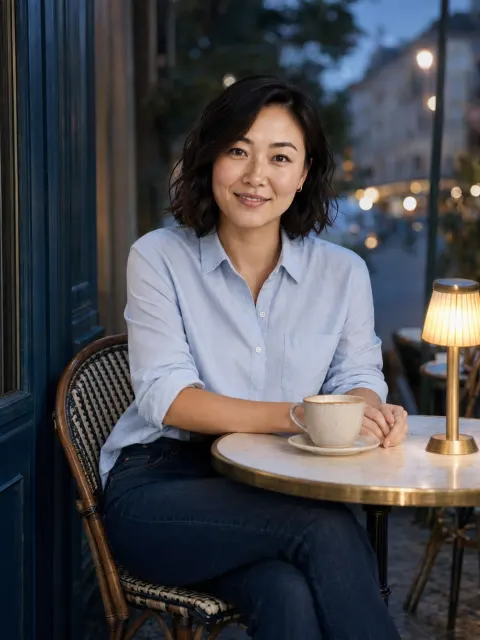
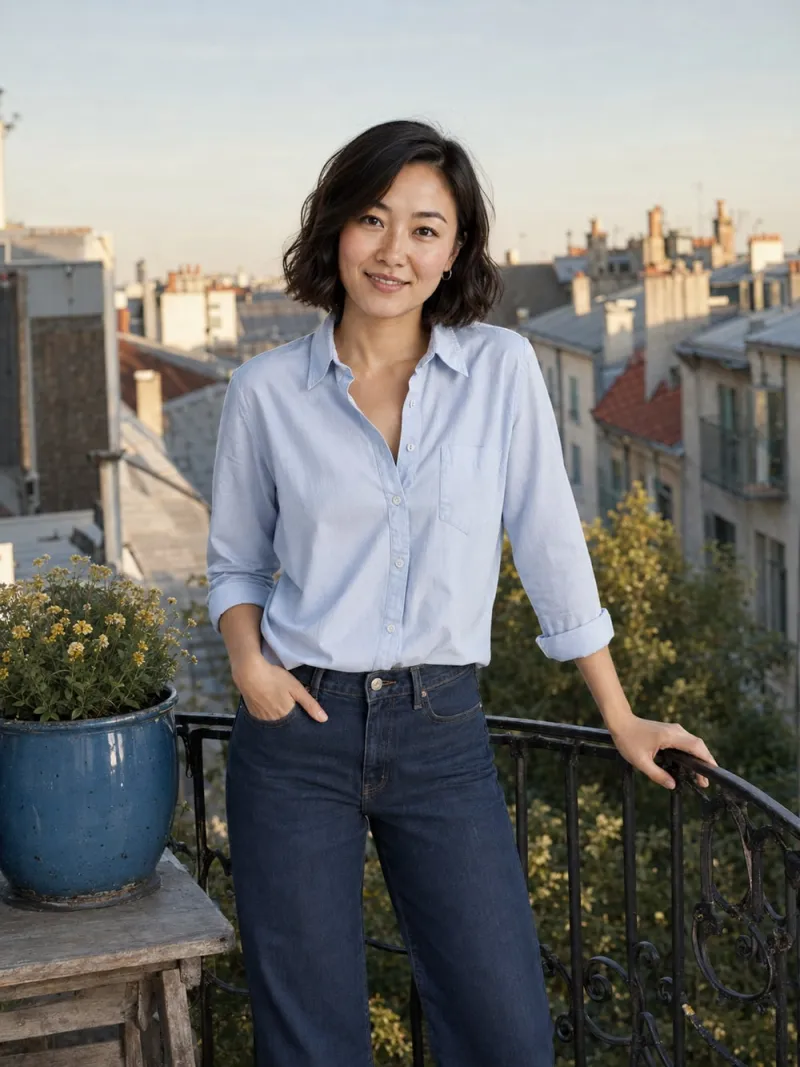
Once the introduction is clear, stop polishing it in isolation. A good first photo with weak supporting photos does less than a decent first photo with a varied set behind it. If you want more first-photo ideas, browse illustrative Charmshots scenes for settings to recreate, such as a café table or a balcony at sunset.
Does my first dating photo have to be professional?
No. A clear, recent phone photo works well as an introduction. Soft light, a visible face and a recognisable expression matter far more than the camera or a studio backdrop.
Should I smile in my main profile photo?
Choose the expression that feels familiar and comfortable to you. A relaxed, natural smile is easy to read, but a calm neutral expression can work too. There is no single expression that suits everyone.
How much of the photo should my face fill?
Enough that you can recognise yourself at thumbnail size without zooming, while still leaving a little space above your hair and beside your shoulders. A chest-up or head-and-shoulders frame usually gets the balance right.
Why does my photo get cut off in the app?
Apps crop the same image into different shapes for cards, thumbnails and circles. Keep your face near the centre with some room around it, and preview each crop before saving. Keep a wider original so you can re-crop later.
Can I use a group photo as my first picture?
It is better not to. People have to guess which person is you. Lead with a clear solo photo and keep group shots further down your profile, where they add social context instead.