
What travel and outdoor pictures say
A good travel photo says you are curious, that you like a change of scene and that you would probably have opinions about where to eat. An outdoor one says you would rather be moving than sitting still on a Saturday. Both give people easy questions: where was that, what was the best thing you ate, where next.
They also carry a quieter message about how often you are around. A lineup that is all airports and beaches can make someone wonder whether you are ever at home, which matters to a person looking for someone nearby. One or two trips, balanced with your ordinary week, reads as a full life rather than a permanent holiday.
The landmark problem: keep yourself in the frame
Famous places swallow the person in front of them. A tiny figure under a cathedral or a silhouette on a ridge is a lovely memory and a weak introduction, because at phone size nobody can tell what you look like.
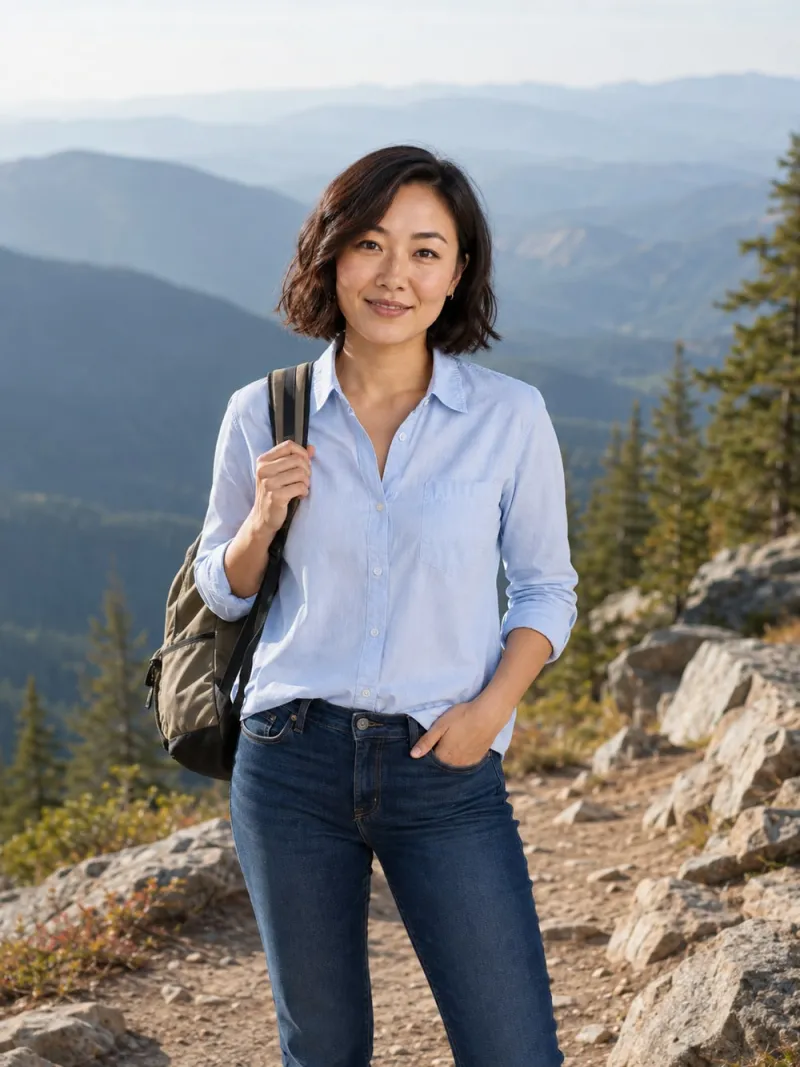
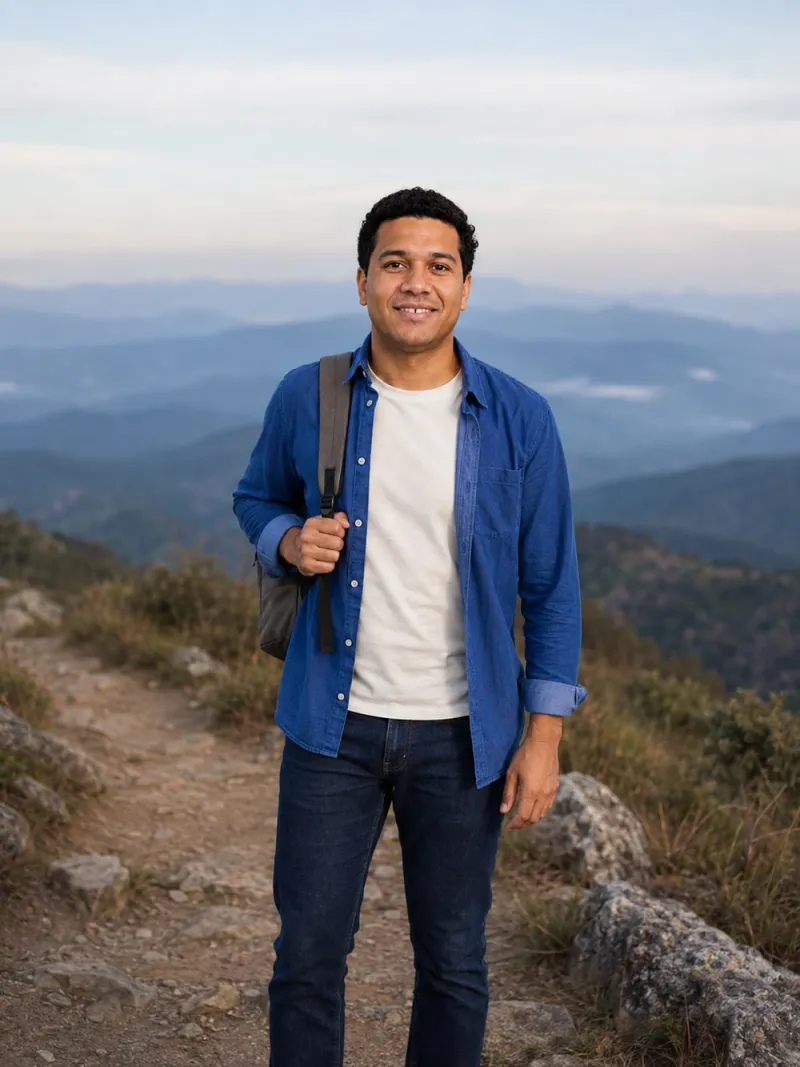
Shrink your candidate to thumbnail size. If the first thing you notice is a building, a sunset or a lake, crop closer or choose another frame. A waist-up portrait on a quiet street from the same trip usually does far more than the postcard shot. Keep enough of the background to hint at the place, a lantern, a canal railing, a slice of sea, and let a prompt tell the rest.
How many, and where in the lineup
For most people, one travel photo and at most one outdoor one is the right amount. They belong in the middle of the lineup, after a clear portrait and a wider everyday picture have shown who you are. If a trip photo happens to be your clearest, best-lit portrait, it can go first, but check that the background isn’t doing all the work.
Avoid two pictures from the same trip unless they do completely different jobs. Three photos in front of three waterfronts look like the same photo to someone scrolling. The lineup guide has a simple way to label each image by its job and cut duplicates.
Taking a better one on your next trip
- Take the portrait first, the view second. Ask your travel companion for a few frames where you fill a third of the picture before you do the wide shot.
- Sun to the side, not behind. Strong backlight turns faces into shadows. Early morning and late afternoon are gentler than midday; the lighting guide explains why.
- Sunglasses up for one frame. Wear them for the walk, push them up for the photo that matters.
- Pick quiet streets over crowded sights. Strangers in the background distract, and a calm lane looks more like you were actually there.
- Stay on safe ground. No picture is worth a cliff edge, a railway line or a closed path.
Common mistakes
- Old trips. A photo from five years ago may look like a different person. Use trips where you look like you do now.
- Captions that imply you live there. A beach town in your first photo and a bio about city life confuses people. Say when it was a holiday.
- Group shots from a stag, hen or gap year. Nobody can tell which one you are, and the other people didn’t sign up for your profile.
- Every shot in sunglasses and a cap. Outdoor trips make this easy to do by accident. Check that at least one outdoor picture shows your eyes.
- Heavy travel filters. Saturated blues and orange skin look dated and hide what you really look like.